Scribble & Co Designs

Everyday digital products to make life a little easier.

  • 10 Boss Babe Essentials You Need Now

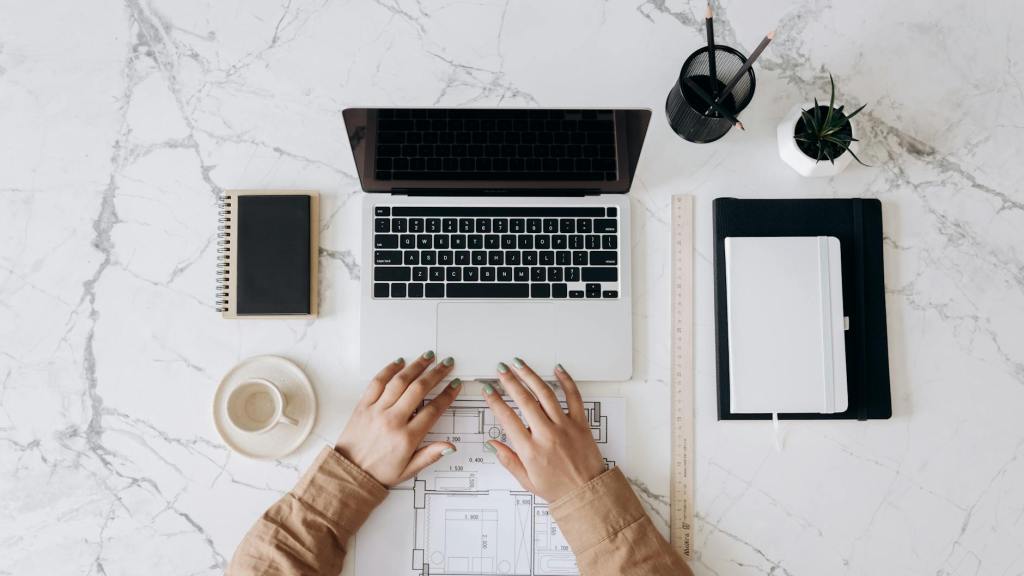
    Running your own business takes more than coffee and Canva—it takes structure, tools, and a whole lot of self-belief. Because let’s be honest: there are days when you’re fired up and ready to conquer the world, and days when you wonder what you’re even doing. And that’s okay!

    Over the years, I’ve learned that having the right little things can make a big difference. They’re the secret sauce that keeps me focused, helps me feel confident, and reminds me why I started in the first place.

    Here are the essentials I keep coming back to—again and again:

    A good planner (digital or printable) – Whether it’s on your laptop or pinned to your fridge, seeing your week in front of you is a game changer. It gives you direction and that satisfying sense of “I’ve got this.”

    A content calendar for social posts and launches – No more last-minute scrambles! Knowing what to post and when means you can stay consistent without the stress.
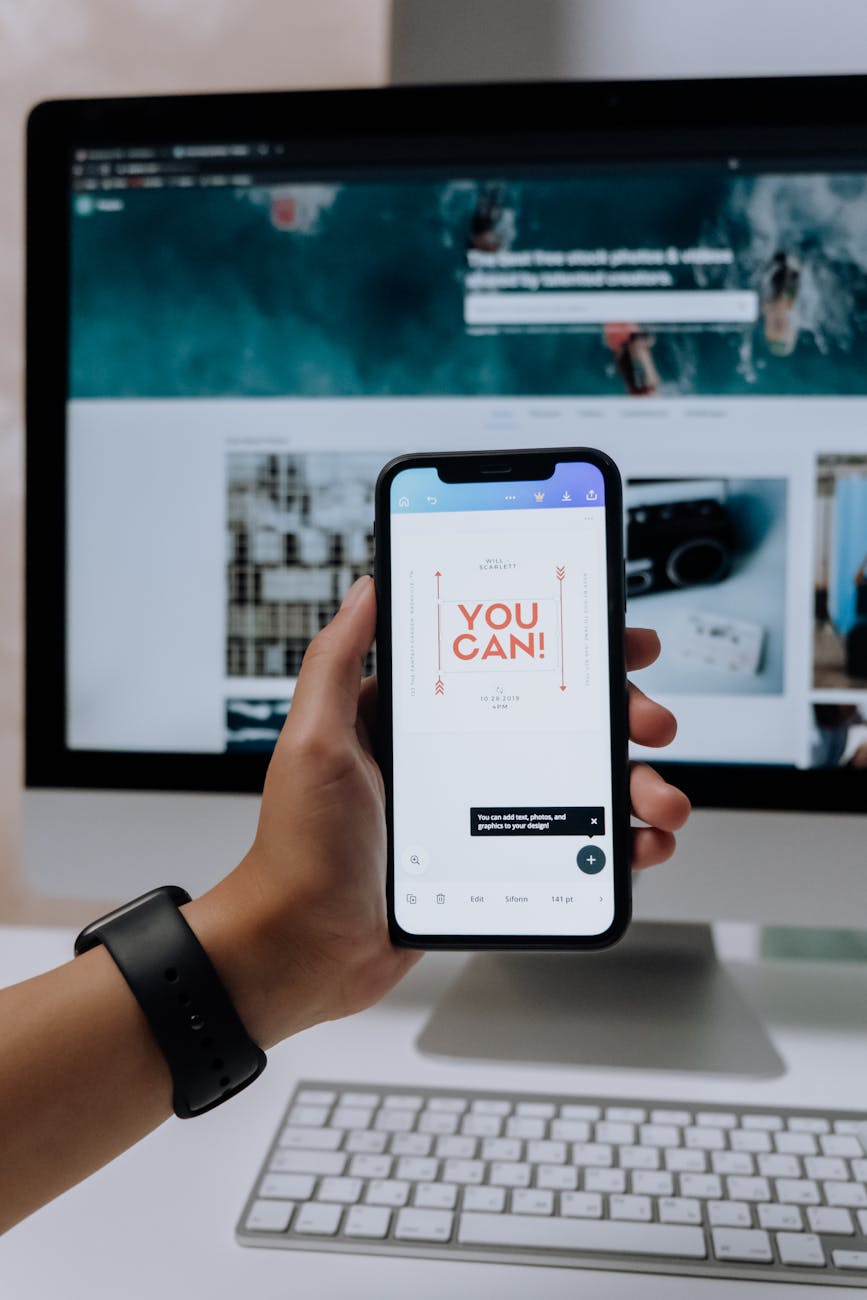
    Smart mockups to level up your product photos – Great images are half the battle on Etsy and Pinterest. Smart mockups make it easy to showcase your work in real-life settings.
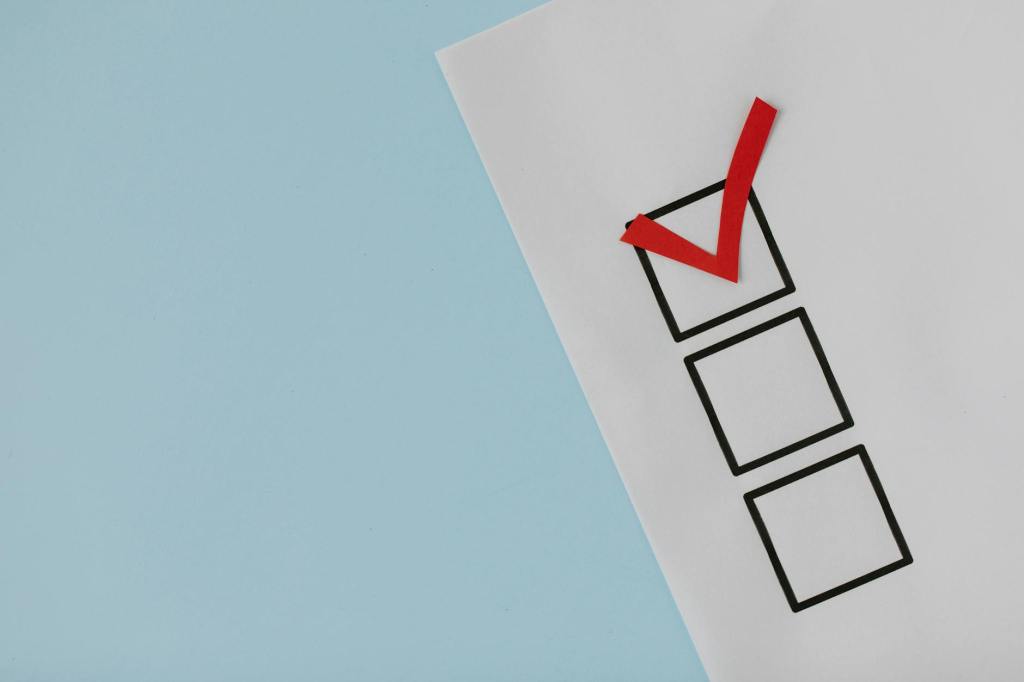
    A simple goal tracker – Because we all need reminders of what we’re aiming for. Even if the goal is small, tracking progress keeps you moving forward.

    To-do lists that won’t stress you out – Not endless, soul-crushing lists—just a few key things to tackle each day so you can feel accomplished and sane.
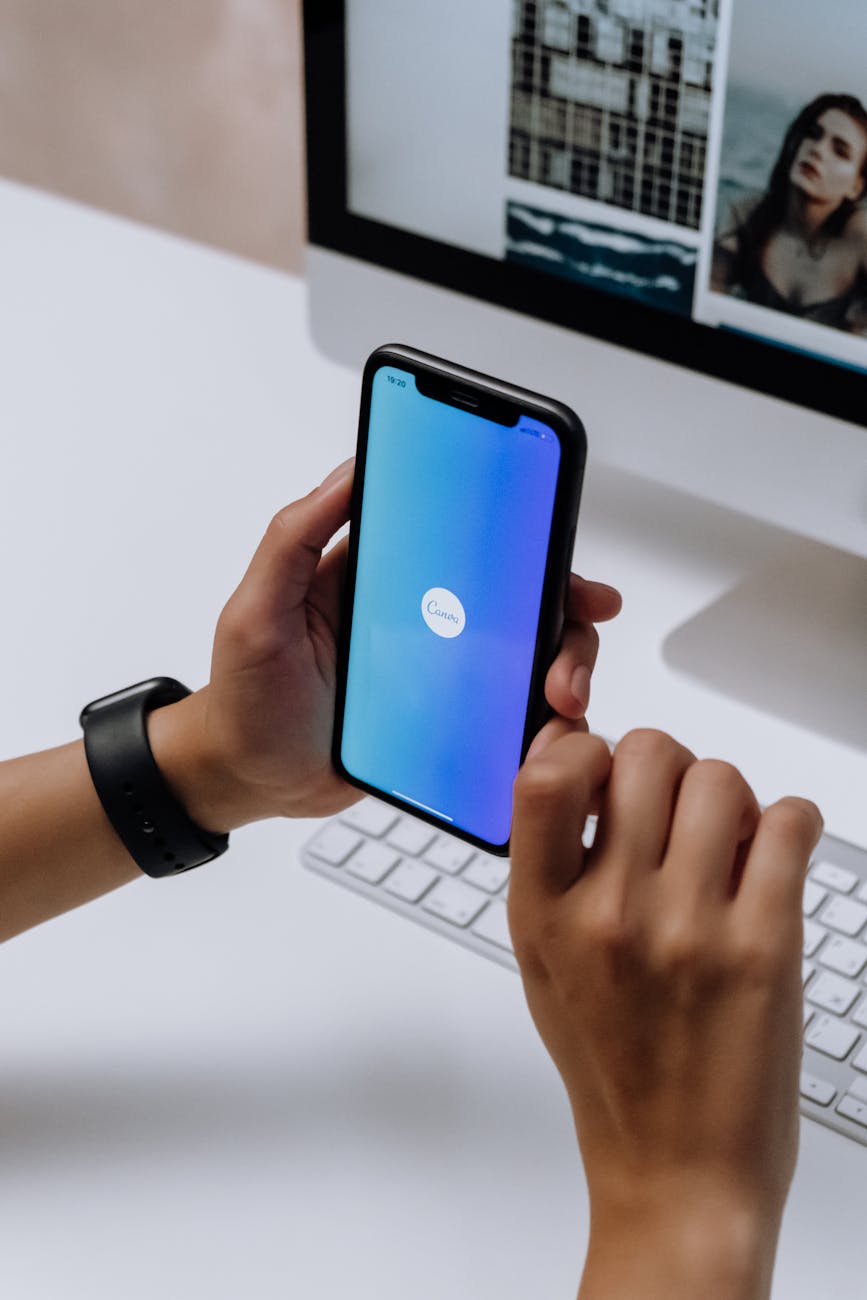
    Canva brand kit for visual consistency – Your brand should feel like you. Having your fonts, colors, and logos ready to go makes everything faster and more cohesive.
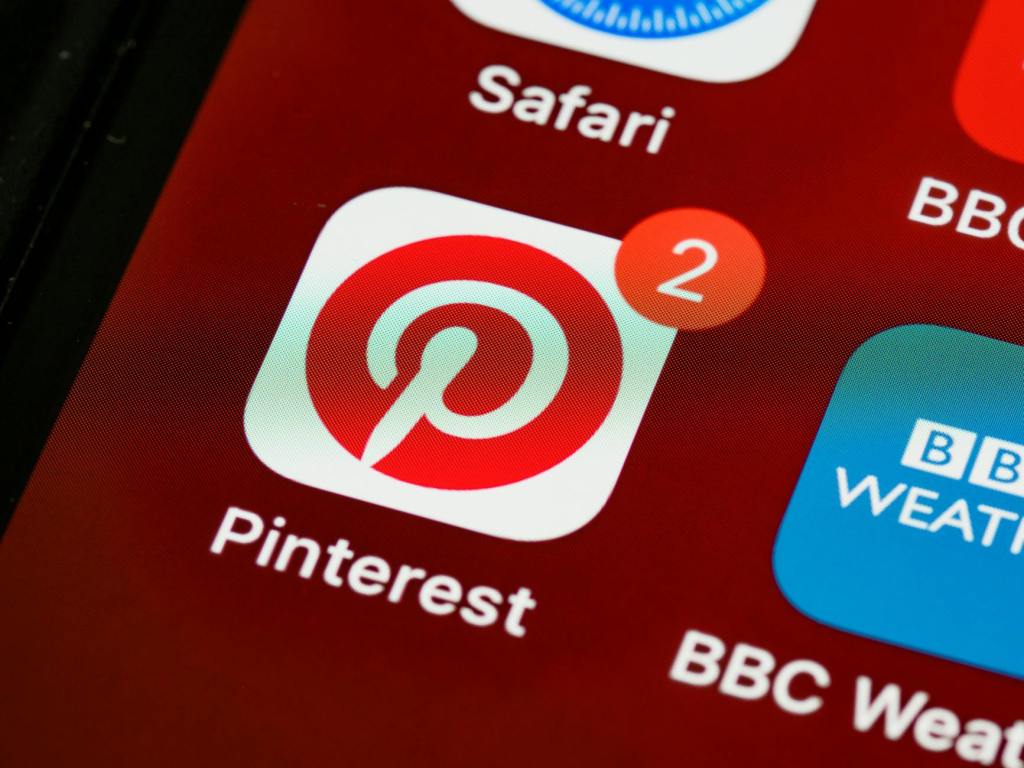
    Pinterest templates to post consistently – Pinterest loves fresh content. Templates help you crank out new pins without reinventing the wheel every time.

    A folder of customer reviews or affirmations – For those days when self-doubt creeps in (because it always does). Seeing kind words or remembering how far you’ve come? Instant pick-me-up.

    A brain dump page – For every idea, plan, or random thought that pops up. It’s like a mental vacuum—clears space in your head so you can focus on what matters most.

    A reminder that done is better than perfect. – Because perfectionism is the enemy of progress. Your first version doesn’t have to be your final one. Just start.

    My Personal Take:

    Being a boss babe isn’t about having it all figured out—it’s about resilience. It’s about showing up for yourself, learning as you go, and giving yourself grace along the way.

    These tools? They’re like little anchors—keeping you grounded and making the whole “I run my own business” thing feel a lot more possible.

    Want a shortcut?
    A bunch of these essentials—like printable planners, content calendars, and Pinterest templates—are ready-made inside Scribble & Co Designs. Because building your dream business shouldn’t feel impossible. It should feel doable, exciting, and even a little bit fun.

    💬 What’s your go-to tool for staying focused? Share it in the comments—I’d love to hear what’s helping you feel like the CEO of your dreams!

  • Just Starting Out in Digital Products? Here’s Your Go-To Toolkit

    Starting Your Digital Products Biz? Here’s the Only Toolkit You Really Need

    Starting your digital products biz can feel like there’s a hundred things you need. Truth? You really only need a few solid tools to get going—and trust me, I learned this the hard way.

    When I started Scribble & Co Designs, I was juggling a full-time job and trying to learn everything at once. I downloaded every freebie, watched endless YouTube tutorials, and still felt stuck. What made the difference? Cutting through the noise and focusing on the tools that actually moved the needle.

    Here’s what worked for me:

    Canva – This was my creative playground. I used it to design everything from printable planners to party invites. The drag-and-drop setup makes it easy to learn, even if you’re not a designer. (Tip: Start with templates, then customize as you grow!)
    👉 Try Canva

    Etsy – I started with Etsy for the built-in traffic and the complete set=up a newbie. Beginner-friendly and it takes care of the tech for you.
    👉 Open an Etsy shop

    InsightFactory or Everbee – These tools helped me figure out what people were actually searching for. No guessing—just real data to guide my product ideas.
    👉 Use Everbee

    Google Drive – Don’t underestimate the power of staying organized. I keep all my designs, mockups, and product info here so nothing gets lost. Plus, it’s great for sharing files with a virtual assistant when you’re ready.
    👉 Set up Google Drive

    Pinterest – This is my secret weapon. I pin my product images and let Pinterest do the heavy lifting with long-term, free traffic. Some of my best-sellers took off just from a well-designed pin.
    👉 Start with Pinterest tips

    That’s it. You don’t need 10 platforms or a fancy setup. Start with one product and one tool at a time. Learn as you go. And remember: the best toolkit is the one you’ll actually use. So skip the overwhelm and focus on progress.

    💡 Need help deciding what to create first?
    Visit Scribble & Co Designs to see what simple, beginner-friendly products look like in real life. Sometimes, the best way to start is by seeing what’s already working.

    👉 Your turn: What’s the one tool you’re most excited to try first? Drop it in the comments—I’d love to cheer you on!

  • The Basic Canva Hacks You’ll Wish You Knew Sooner

    I spent months using Canva the hard way—clicking through menus, moving things pixel by pixel, and getting stuck on the simplest changes. It was only when I started picking up little shortcuts and tricks that I realized how much easier—and faster—designing digital products could be.

    Because let’s be real: when you’re designing for Etsy or your own digital shop, time is everything. And the cleaner, more professional your product looks? The more it sells.

    Here are the Canva hacks I wish I knew from day one:

    Use “R” to add a rectangle instantly.
    No more clicking through the shape library—just tap “R” and it pops right in. Use it for headings, banners, or background shapes.

    Press “T” to drop in a text box.
    Way quicker than scrolling through the text menu. Just tap “T” and type!

    Copy style with one click.
    My personal favorite: select a design, click the little paintbrush icon (“Copy Style”), and it transfers the font, color, and size to anything else. It’s like magic—no more manual reformatting.

    Lock layers to stop things from shifting.
    Ever move something and accidentally nudge everything else? Just lock the layer—no more layout disasters!

    Group + Align tools.
    These make sure your design is neat, balanced, and professional. Select a few elements, group them, and use the align tool to center or space them perfectly.

    Use keyboard arrows for pixel-perfect tweaks.
    When you want to nudge something just a bit, the arrow keys are your best friend. You’ll get that perfect alignment without overshooting.

    Here’s why these hacks matter:

    Designing digital products can take forever when you’re manually moving every element. It’s easy to get frustrated and lose momentum. But when you know these shortcuts? Everything flows smoother. You spend less time tweaking and more time creating.

    And let’s face it—a cleaner final product just looks better. Buyers can tell when something’s been fussed over and balanced. These hacks help you get there faster—without the overwhelm.

    My Personal Tip:

    Don’t try to learn every shortcut at once! Pick one or two and use them consistently. Before long, they’ll feel second nature—like muscle memory that saves you hours.

    Want to see these Canva hacks in action?
    Check out Scribble & Co Designs. Every product I’ve made started with a blank page in Canva—brought to life faster and easier with these exact tips.

    Because the best digital products aren’t just pretty—they’re made with smart workflows that save you time and keep you inspired.

    💬 What’s the one Canva shortcut you can’t live without (or are dying to try)? Let me know in the comments—I’d love to trade tips and see what’s working for you!signs—everything you see there was made in Canva, faster thanks to these tricks.

  • Canva Tools Etsy Sellers Can’t Live Without

    Canva makes designing digital products easy—but it’s even better when you know which tools to actually use.

    When I first started out, I was all about the basics: pick a cute template, tweak the text, and hope it looked good enough. But once I started playing around with Canva’s features, I realized there’s so much more to it—tools that don’t just make things pretty, but make them practical and professional too.

    My Non-Negotiable Canva Tools for Digital Products

    Grids & Guides – Total game changer for planners, worksheets, and pages! They keep everything neat and aligned, so your final product looks polished and clean. No more guessing if things are centered or lined up—just drop and adjust.

    Brand Kit (Pro version) – This was a big one for me. I love having my brand colors, fonts, and logos ready to go in one click. It keeps everything looking cohesive—no more mismatched colors or fonts that don’t feel like “me.”

    Smart Mockups – These are so handy, especially for Etsy thumbnails or Pinterest pins. With a couple of clicks, you can see your design as a real product photo—like on a tablet, a phone, or a print sheet. It makes your listings pop and helps customers imagine your product in their life.

    Elements Library – Canva’s huge library of frames, shapes, and icons can take a simple layout and make it feel intentional and eye-catching. It’s the secret to adding polish without adding clutter.

    Resize Tool (Pro) – If you’re selling digital products, this is a lifesaver. You can reuse one design in different sizes or tweak it for multiple platforms (like Etsy listings, Pinterest, or Instagram posts). So much faster than starting from scratch!

    My Best Advice?

    You don’t need to learn everything at once. Canva is massive, and it’s easy to feel overwhelmed if you try to master every single feature. Instead, start with these core tools and build from there. Every time you open Canva, experiment with one new thing—like a different frame or a new font style. You’ll be amazed how quickly you level up your design game.

    Extra Tip: The Canva Content Planner

    Here’s a little bonus if you’re also juggling social media for your Etsy shop or business. Canva’s Content Planner (in the Pro version) lets you schedule posts straight from your workspace. No more downloading, uploading, and re-uploading. You can create a pin, a reel, or a post right there, click schedule, and move on. Huge time-saver!

    Want to see how these tools help me create real products?
    Check out Scribble & Co Designs. Every product I’ve made started in Canva—using these tools to turn a blank page into something people love to buy.

    Because the secret to great digital products isn’t fancy graphics or complicated tech—it’s using simple tools, consistently, and making them yours.

    💬 What’s the Canva feature you’re most curious to try—Smart Mockups, Brand Kit, or something else? Let me know in the comments—I’d love to help you figure out what’s next!

  • Listing Like a Pro: Etsy Made Simple

    If you’re new to Etsy, figuring out how to write a good listing can feel totally overwhelming. What should the title say? How long should the description be? How many tags is enough? If you’ve ever stared at that blank listing form wondering what to write, trust me—you’re not alone.

    Here’s the real talk: your listing is what helps your product get found and get clicked. It’s a mix of writing for real people (who want to know why they need this!) and for Etsy’s search algorithm (which decides if your product shows up in the first place).

    When I was starting out, I thought I had to write some perfect, flowery description to “sell” it. But I quickly learned: keep it simple, clear, and honest. That’s what gets results.

    Here’s what works for me (and what I’ve seen work for tons of other Etsy sellers!):

    Start with a clear, keyword-rich title.
    This is huge. Use phrases people are actually searching. Think “Weekly Planner Printable PDF” or “Birthday Party Invitation Editable Template,” not “My Favorite Cute Organizer.” Be descriptive, not mysterious.

    Use your first image wisely.
    Your first photo is your biggest hook. It should instantly show what the product is and why it’s awesome. Bright, clear, well-lit photos (or mockups for digital products) make all the difference.

    Break your description into sections.
    People skim! Make it easy to read. Start with a quick “what it is,” then explain how to use it, what’s included (like sizes, formats, or customization details), and any important notes (like “instant download” or printing tips). Bullet points are your friend here.

    Use all 13 tags.
    Yes, all 13! Don’t waste these slots. Mix broad keywords (like “printable planner”) with niche ones (like “2024 productivity template”). Peek at similar bestsellers to see what terms they’re using—no shame in learning from the pros!

    Think like a buyer.
    Before you publish, preview your listing. Would you click it? Is it clear what you’re buying? Does it look helpful, inspiring, or solve a problem? If not—tweak it until it does.

    Pro Tips from My Own Experience:

    Don’t overcomplicate it. Your first listing doesn’t have to be perfect. You’ll learn as you go, and tweaking is normal!

    Use “attributes” smartly. Etsy lets you add details like color, occasion, or style. These extra details help your product get found.

    Write like a real human. Yes, SEO matters, but so does sounding friendly and relatable. People want to buy from you, not just an algorithm.

    Check your competition—but stay unique. Find inspiration in bestsellers, but don’t copy. Use your own voice and style to stand out.

    Here’s the best part: the more listings you create, the easier it gets. Your first might feel clunky, your second a little better, and by your tenth you’ll be writing them in your sleep!

    🌟 Want to see real examples?
    Check out Scribble & Co Designs for listing styles that work—clear titles, useful info, and real-life vibes that make people click “add to cart.”

    Because at the end of the day, it’s not about being perfect. It’s about making your shop easy to find, easy to trust, and easy to buy from. And that’s what turns browsers into buyers—one listing at a time.

    💬 What’s your biggest struggle when writing listings—titles, descriptions, or finding the right keywords? Drop a comment below—I’d love to share some more targeted tips!wse my Etsy store Scribble & Co Designs—it’s where I test, learn, and grow every day.

  • Avoid These Common Etsy Mistakes When You’re New

    Starting an Etsy shop is exciting—but also kind of overwhelming. When I opened mine, I made a ton of mistakes (and let’s be real, still do sometimes). But that’s how you learn. The good news? You don’t have to repeat them.

    Here are some of the most common beginner Etsy mistakes—and what to do instead:

    1. Waiting Until Everything Is “Perfect”
    Perfection is a trap. I wasted weeks tweaking product images, changing fonts, and second-guessing everything. Just post your first product. You can (and should) improve as you go.

    2. Not Using SEO Properly
    Your product won’t be found if no one can search for it. Use keywords people are actually typing into Etsy. Tools like InsightFactory or even Etsy’s search bar autocomplete are great places to start.

    3. Weak Listing Photos
    Your thumbnail is what gets the click. If your mockups don’t clearly show what the product is, people scroll right past. Use clean, bright, scroll-stopping images—Canva can help with this.

    4. Underpricing Products
    It’s tempting to price low just to get a sale. But digital products take time and skill. Price fairly and focus on delivering value.

    5. Making Products You Love… Instead of What People Want
    This one hurt. I designed a bunch of printables I liked, but they didn’t sell. Once I started creating products based on actual demand (like planners, kids’ games, and checklists), things shifted.

    Bottom line: Don’t let mistakes stop you from starting. They’re part of the process—but if you know what to watch for, you can skip the worst of them.

    Want to see a beginner-friendly Etsy shop in action? Check out mine at Scribble & Co Designs. I’m still learning too—but it all started with just one product.

  • How Pinterest Became My Secret Business Weapon

    I’ll be honest—when I first started my digital products business, Pinterest wasn’t even on my radar. I thought it was just for finding new dinner ideas, dream home inspiration, and crafty DIYs I’d never actually make.

    But pretty quickly, I realized Pinterest is so much more—especially for selling printables and digital downloads. And honestly? It’s one of the most powerful (and totally free!) tools you can use to grow your business.

    Here’s why Pinterest is a total game changer for digital products:

    📌 1. Pins Work Like Mini Search Ads (That Don’t Expire)
    Pinterest is basically a visual search engine. Every pin you create can show up in someone’s search results weeks, months—even years—later. Unlike Instagram or TikTok, where posts fade fast, Pinterest keeps working in the background, sending traffic to your shop or website long after you hit “post.”

    When I saw my first pin from six months earlier still bringing visitors to my Etsy store, I was blown away. It’s like having a mini sales rep working for you 24/7.

    🎯 2. It’s a Goldmine for People Already in “Buying” Mode
    The best part? People on Pinterest are planners. They’re searching for ideas—whether it’s birthday parties, wedding planning, back-to-school prep, or organizing their home office. They’re looking for solutions—and your digital products can be exactly what they need.

    When you create printables that solve a problem—like a meal planner, party game, or budget tracker—you’re giving them a clear, easy “yes.” Your pin isn’t just content—it’s an answer to their search.

    👥 3. You Don’t Need a Huge Following to Succeed
    When I started, I didn’t have a big email list, a blog following, or a fancy marketing plan. Just 10 pins, a few Etsy listings, and a ton of trial and error. And guess what? Slowly but surely, those pins started bringing in traffic—and sales.

    That’s what I love most about Pinterest: it’s not about being an influencer. It’s about showing up with helpful products and good visuals—no huge following required.

    ✨ 4. SEO + Design = Pure Magic
    I’ll never forget the day I learned to combine keywords and design. I started writing pin titles and descriptions using real search terms (like “budget planner” or “party invitation ideas”) and creating eye-catching graphics in Canva. The difference? Night and day.

    Suddenly, my pins were getting saves, clicks, and conversions. It felt like everything just clicked into place.

    My Top Tips for Starting with Pinterest:

    Use keyword-rich descriptions. Think about what you would search for if you needed your product.
    Create beautiful, clear pins in Canva. Use bold text, bright images, and clean layouts that stand out.
    Be patient. Pinterest isn’t about instant likes—it’s about slow-burn traffic that keeps building over time.
    Keep experimenting. Some pins will flop, and that’s okay. Just keep trying different titles, designs, and topics to see what resonates.

    🌟 Want to see Pinterest in action?
    Most of the products I’ve sold have been backed by a pin. Visit Scribble & Co Designs and you’ll see the kind of digital products that work on Pinterest—because they’re helpful, seasonal, and searchable.

    If you’re looking for a way to grow your business without paid ads, start pinning. It’s slow-burn traffic—but it builds over time. And trust me, future you will thank you.

    💬 Have you tried Pinterest for your business yet? Drop a comment below—I’d love to hear what’s working, what’s tripping you up, or any wins you’ve had!

  • Launch Your Etsy Shop in 5 Simple Steps

    Thinking about opening an Etsy shop but not sure where to begin? You’re not alone. It’s easy to feel overwhelmed by all the advice online. But honestly? The best thing you can do is just start—even if it’s messy.

    Here’s how I launched mine (without overcomplicating it):

    Step 1: Create a Free Etsy Account
    Head to etsy.com and sign up. It takes a few minutes, and you’ll be able to start setting up your shop right away.

    Step 2: Choose a Shop Name
    Don’t get stuck here. Pick something simple and relevant—you can always update it later. Think about who you’re serving and what kind of vibe your store will have.

    Step 3: Upload 1–3 Simple Digital Products
    Start small. Canva makes it easy to create planners, invitations, or checklists. Just make sure they’re helpful, cleanly designed, and solve a real problem.

    Step 4: Write Clear Titles & Descriptions
    This part matters. Use keywords people are actually searching for. Tools like InsightFactory, Everbee, or just Etsy’s own search bar can help. Keep your copy helpful, not salesy.

    Step 5: Create Mockups & Hit Publish
    Use Canva to make product mockups that show your printable in action. Think: pages in use, printed out, or on a clipboard. Upload your files, set your price, and hit publish.

    That’s it. It won’t be perfect, and that’s okay. Your first listing is a starting point—not your final masterpiece.

    You’ll learn how to improve your SEO, refine your designs, and figure out what your customers really want over time. The key is getting that first product out into the world.

    Want to see where that first step led me?
    Check out Scribble & Co Designs. My shop started with one planner, a bit of courage, and zero clue what I was doing. You’ve got this too.

  • Student Planners That Make School Smarter

    Student Planners That Make School Smarter

    School life is busy—assignments, deadlines, tests, projects, group work… It’s a lot for students to juggle, especially when they’re balancing activities and friends too. Let’s be real: it’s enough to make anyone feel overwhelmed.

    But here’s the good news—a simple student planner can make a huge difference.

    I’ve seen firsthand how even just a few printable pages can turn the mountain of school tasks into something way more manageable. It’s like giving your brain a little breathing room—less “what did I forget?” and more “I’ve got this.”

    Why Printable Student Planners Rock

    📝 They’re flexible. Whether you’re a list-lover or a weekly overview person, there’s a layout that’ll fit your brain. No more trying to squish your tasks into a planner that doesn’t suit your style.

    📅 They’re instant. No waiting for shipping or paying extra for fancy covers. Just download, print, and start organizing.

    📚 They help you see the big picture. It’s easy to get lost in daily homework chaos, but a planner helps you zoom out and see your goals and priorities.

    🎯 They’re customizable. Change it up whenever you need—new term, new routine, new goals. Print what you need, tweak what you don’t.

    Here are some planner pages that really help:

    Assignment trackers – Keep every paper and project in one spot so nothing falls through the cracks.
    Test and exam schedules – Mark down those big days and study smarter, not harder.
    Reading logs – Track what you’ve read (or what you need to read!) and see how far you’ve come.
    Study planners and routines – Plan your sessions, break them into manageable chunks, and avoid last-minute cramming.
    Goal-setting pages – Because school isn’t just about tests—it’s about growing and learning for yourself.

    My Pro Tip? Keep it simple.

    I’ve seen students (and parents!) feel way less stressed just by using a few of these pages consistently. You don’t need to fill in every single box—just start with the basics and build from there. Some days you might only jot down three key things; other days, you’ll fill up the whole page. That’s the beauty of it—it works with your life, not against it.

    And don’t forget to make it yours! Use your favorite pens, doodle in the margins, or add little stickers for motivation. A planner doesn’t have to be boring—it can be a reflection of you and how you learn best.

    Want to give it a try?
    Head to Scribble & Co Designs and check out our academic planner sets. They’re easy to print, easy to use, and made for real life—not some perfect Pinterest version of school.

    Because school is challenging enough. Your planner should make it easier—and maybe even a little fun.

    💬 What’s your favorite planner page—assignment trackers, reading logs, or something else? Drop a comment below—I’d love to hear how you’re making schoolwork smarter and a little less stressful.

  • How to Organize Pet Life Like a Pro

    Pets are part of the family—but let’s be honest, they come with their own schedule. Vet visits, vaccinations, feeding routines, grooming appointments… It’s enough to make your head spin, especially if you have more than one furry friend underfoot.

    I didn’t realize just how scattered I was until I missed a flea treatment reminder. My sweet pup was scratching like crazy, and I felt like the worst pet parent. That’s when I created a pet care printable—and let me tell you, I’ve never looked back.

    Why Pet Care Printables are a Game Changer

    🐾 Everything in one place. No more digging through emails for vet reminders or trying to remember if it’s bath day or nail trim day. With a printable, it’s all laid out and easy to check.

    🐾 A clear routine. Pets thrive on routine—knowing what’s next makes them calmer and more relaxed. And when you’re organized, you can actually enjoy the snuggles instead of stressing over what you’re forgetting.

    🐾 A peace of mind booster. I used to lie awake at night wondering if I’d scheduled the next vaccine or whether I was overfeeding or underfeeding. Now? It’s all written down and right in front of me.

    Here’s what you can track with a pet care printable:

    Vet visits and vaccination records – Keep it up to date and handy for emergencies or when you’re traveling.

    Feeding and treat routines – Track portions, feeding times, and even those extra treats that tend to add up (especially when they give you those puppy dog eyes).

    Grooming appointments – Baths, haircuts, nail trims—it’s easy to forget until they’re shaggy and shedding everywhere!

    Behavior or health notes – Jot down little changes you notice, from a new habit to something that might need a vet check later.

    My Personal Tip:

    I keep mine in a binder next to the leash and food, so I see it every day. It’s like a mini command center for my pets, and it helps me feel on top of things even when life is busy.

    Some days I even use my printable as a fun little journal—adding cute photos, vet stickers, or little paw print doodles. Because at the end of the day, our pets bring so much joy and love—they deserve the same level of care and attention.

    Ready to get organized and take the stress out of pet care?
    Grab a printable pet planner from Scribble & Co Designs. It’s simple, flexible, and made to make your life easier—so you can focus on the best part: all the cuddles and playtime.

    Because they’re family—and they deserve nothing less. 🐾

    💬 What’s the trickiest part of managing your pet’s care—feeding routines, vet visits, or grooming? Share in the comments—I’d love to hear your pet care tips and stories! from Scribble & Co Designs and finally feel like the responsible pet parent you are.